
How to Take Progress Photos That Actually Show Your Progress
Most progress photos are useless because they're inconsistent. Here's how to take before-and-after photos you can honestly compare months apart.
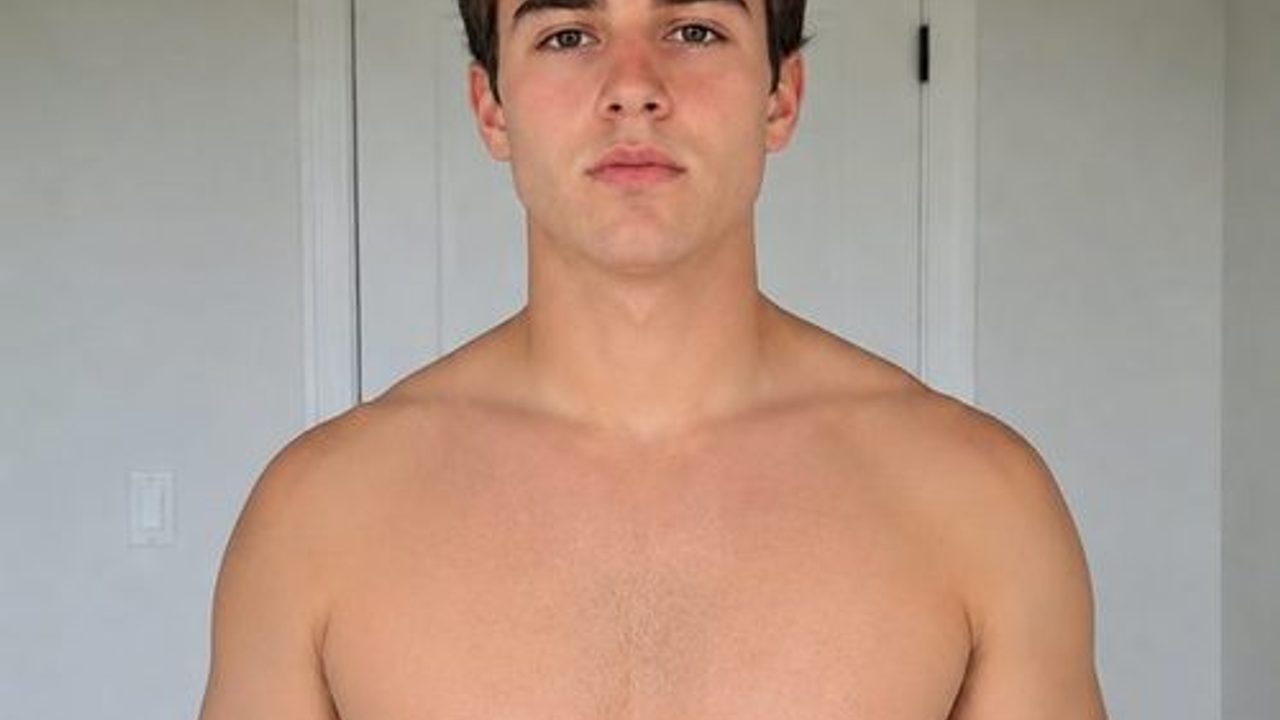
The scale is noisy day to day, and the mirror lies to you gradually — which is exactly why progress photos work, when they’re taken consistently. The problem is most people’s photos aren’t comparable: different lighting, different pose, different time of day, months apart. Fix the consistency and photos become one of the most honest progress signals you have.
Four things that make a progress photo comparable
- Same time of day. Morning, before eating or drinking much, is the most consistent baseline for most people.
- Same lighting and background. Natural light near a window, or the same spot with the same overhead light — avoid switching between flattering gym lighting and harsh bathroom light.
- Same three angles. Front, side and back, each time. A single front photo hides most changes in posture and the back.
- Same pose, relaxed. Standing naturally, not flexing or sucking in — a flexed “after” photo next to a relaxed “before” photo isn’t a fair comparison, even if it’s a common trick in transformation posts.
How often to take them
Weekly is enough to catch a trend without becoming a chore; monthly is the minimum to actually see change, since week-to-week differences are usually too small to see in a photo even when real progress is happening. Pick one cadence and stick to it — switching between weekly and monthly check-ins makes your own history harder to compare.
Photos mean more with context
A photo on its own says something changed. A photo next to your training log and weight trend for the same period says what you did produced this — which is the more useful piece of information if you want to repeat it. This is the main reason to keep progress photos in the same place as your workouts rather than a separate camera roll album: the context is what makes an old photo useful again later, instead of just a curiosity.
Prept’s progress photos feature keeps check-ins on the same timeline as your weight log and training sessions, privately, so a photo from three months ago is one tap from the weeks of training that led to it.
What to do if you’ve already got inconsistent photos
Don’t discard them — even rough photos usually show direction over a long enough gap (say, 6+ months), even if lighting and pose varied. Start a consistent routine from today, and treat everything before that as a rough baseline rather than a data point.
Frequently asked questions
Should I take progress photos flexed or relaxed?
Relaxed, consistently. Flexed photos exaggerate muscle and hide fat loss around the midsection, which makes them look more dramatic but less honest over time.
Do progress photos need to be public to be useful?
No — the value is in the comparison to your own past self, not an audience. Keeping them private removes the pressure that makes a lot of people quit taking them altogether.
What if my weight isn’t changing but my photos look different?
That’s common, and usually means body composition is shifting even though total weight isn’t — another reason to track photos and weight together rather than relying on the scale alone.
More from the Prept blog
- Prept vs Hevy: Workout Video Saver or Dedicated Gym Logger?Hevy is a best-in-class set-and-rep logger. Prept starts from the workout videos you save. Here's how they actually compare, and when you might want both.
- Which Muscles Does That Exercise Actually Work? A Muscle Group Cheat SheetA practical rundown of which muscle groups the most common gym exercises train, and how to spot the muscles your current routine is quietly skipping.
- How to Build a Push/Pull/Legs Split From Workouts You've Already SavedYou don't need a new programme — you need a system for sorting your saved TikTok and Instagram workouts into a push/pull/legs split you'll actually run.